First… just to wrap up the week: I did finish that Family Room yesterday, but decided not to take the final pics because the room is just no where near it’s finished state as far as furnishings, so not much to look at! As I mentioned, Marc will be helping the homeowners to furnish and accessorize this room. I also will be painting an Armoire that will house their tv and stereo equipment. So, I decided to hold off on the final presentation of this room until it is more complete all around!
I do want to share with you a fun and fairly easy project I thought you may want to try in your own home. Now don’t be intimidated by the many steps. I just broke it down to simplify. Also, me being me, I could not just take the simple route. You can very easily adapt this Magnetic Memo Board, changing the size, shape, stencil or no stencil, etc. It would work great in a kid’s room in a bright color, in a fun shape such as a car, giant pencil, heart, bear… you get the picture. I did mine directly on the wall, but you could also do this on a bedroom or closet door panel, or a piece of masonite and mount to your wall. I am thinking to creating some of these on masonite to sell.
If you recall, a few weeks back, I began the process of turning my daughter’s former bedroom into my office. I am happy to report that I’ve made some good progress with this project, although, of course, it is not complete. It is to the point where I can actually work in there and so far, I am just loving having this space! I am still looking for either a daybed w/a trundle or a very small sofa that will open to at least a full sized bed. The room is small and space is very limited. My darling daughter still has several boxes left in this room to go through, but I have been able to get her to sort through at least one box/week when she arrives to do her laundry and have dinner with me on Sundays. 😉 The push is on though because the Holidays are fast approaching and I will need the extra room for the daybed/sofa. Also, I think she realizes that if she should need a place to crash after a long day working at the hospital and the weather is bad, it is closer for her to head here for the night than her apartment. I think she will want to stay here Christmas Eve and/or Christmas night too, so her stuff has to be put away asap! Oh… I digress… the point of today’s post is to share with you a very simple project I made for my new office. I needed a place to be able to post my notes, fabric samples, tear sheets, etc. so decided to make a Magnetic Memo Board. I feel I’ve already overdosed on the chalkboard paint in my house, with the chalkboard buffet and framed chalkboard I have in my dining room.

Not to mention, the chalkboard framed picture I have in my kitchen of my adorable nephew!

This project is so simple that I thought some of you might be interested in making one for a room in your home, so here is a step by step of how I did mine:
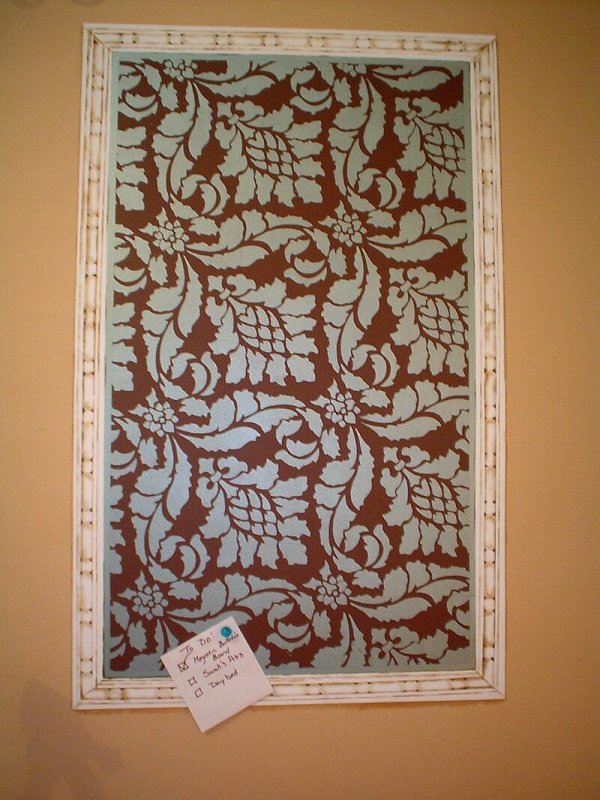
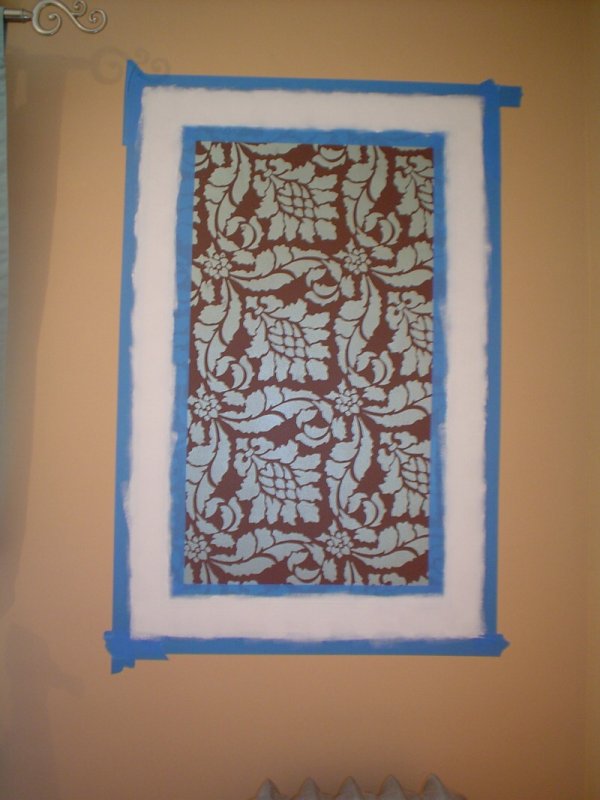
Here’s the finished project. I put a trompe l’oeil frame around mine.
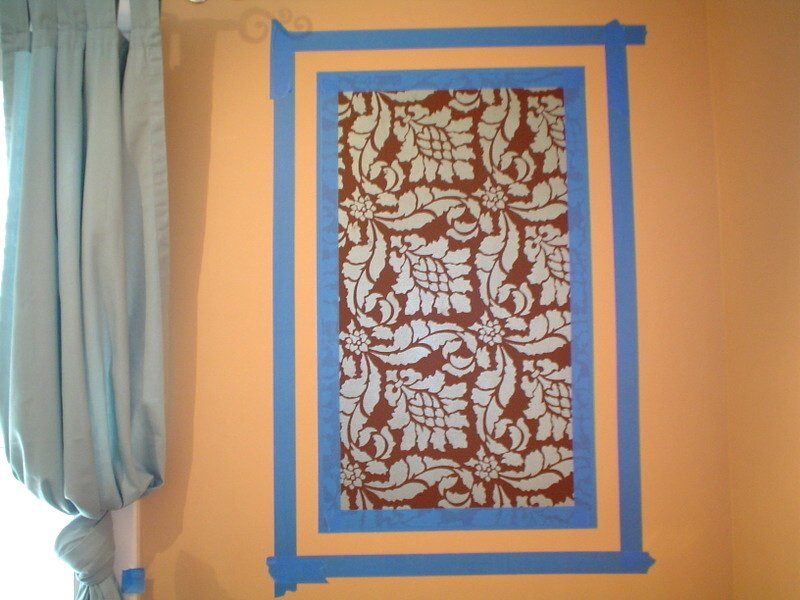
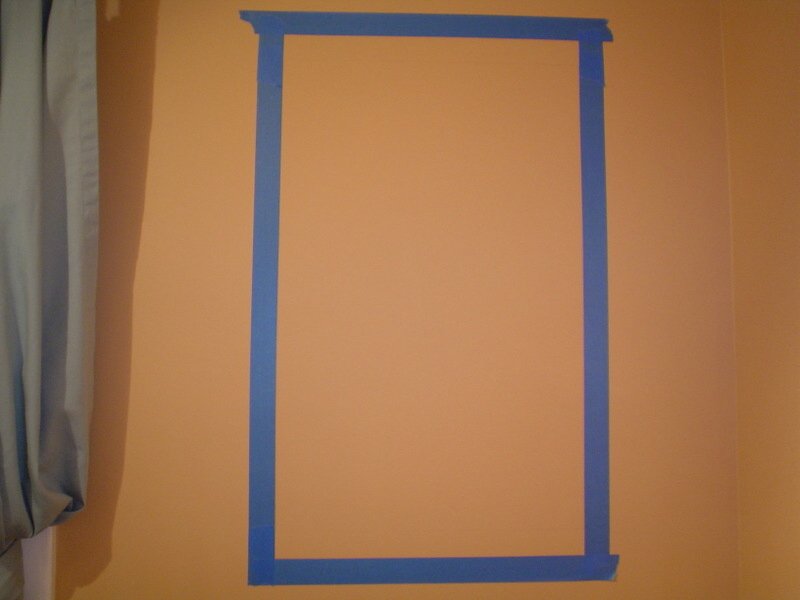 Step 1: Taping Out. Use a low tack painters tape to mask out the area you want to become your Magnetic Memo Board. Use a level to get your lines straight. My walls are painted with Ben Moore’s AF-200 Lingerie, from the Affinity Colors line. It really does not matter what color your walls are at this point, because you will be painting over your wall cover to do the magnetic board.
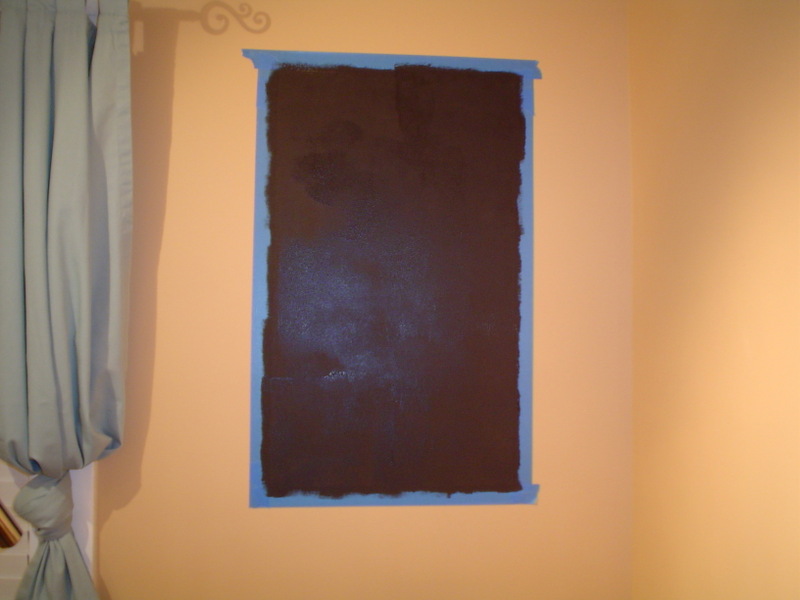 Step 2: Magnetic Primer. Here I have applied the first of 3 coats of the magnetic primer. I used Rust-Oleum’s Magnetic Latex Primer. It comes in several sizes to accommodate your project. It is suggested by the manufacturer that you roll on 3 thin coats, vs. 2 heavy coats. I used a 3/8" whiz roller and just poured some of the primer in a sturdy disposable plastic plate. You should allow 30 minutes between coats.
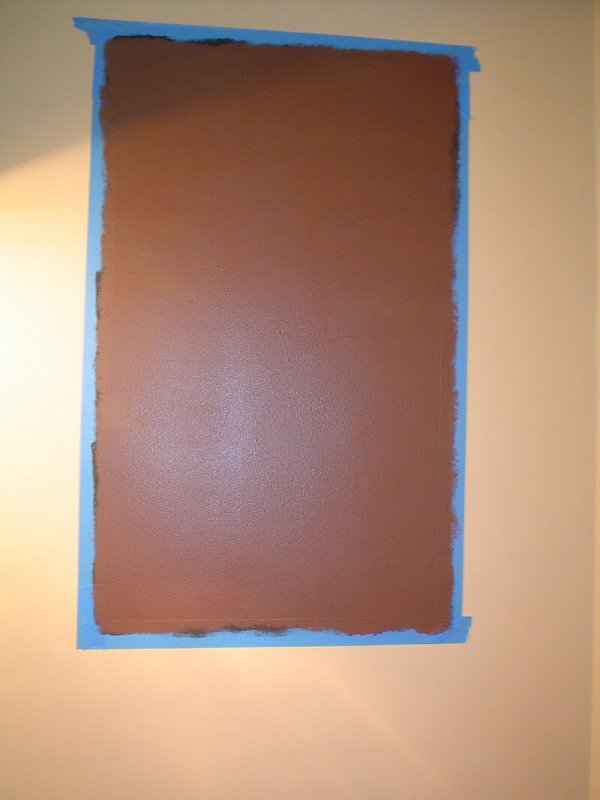 Step 3: Base Coat. This coat should be applied after 4 hrs or more. I let the Primer dry overnight and did this the next day. I used 2 coats of Ben Moore’s HC-71 for my background color, rolled on with a small roller. You can use any latex paint for this step. Let the final coat dry thoroughly, 4 hrs. or more, before proceeding to next step.
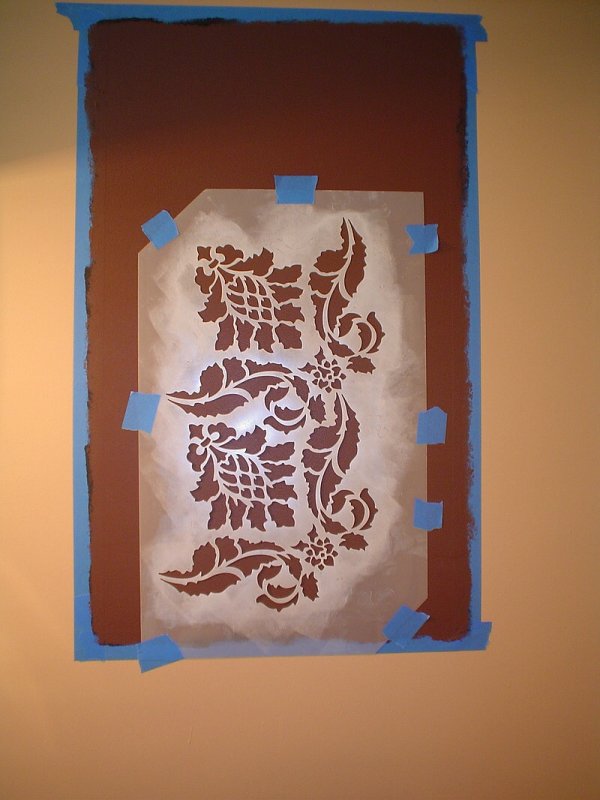 Step 4: Position Stencil. I chose an all over repeat design, Damask, #501, designed by Melanie Royals. The stencil comes with complete instructions for use. I used the same low tack blue tape to adhere it to the base paint.
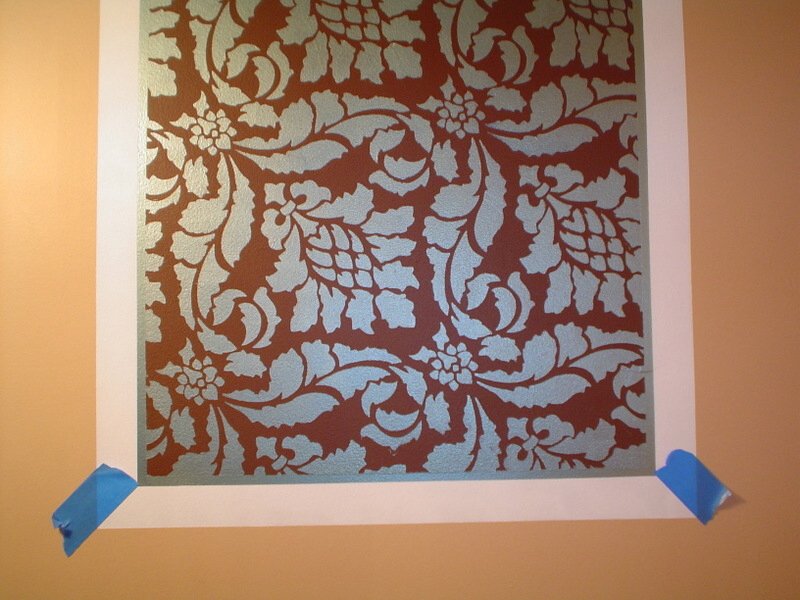
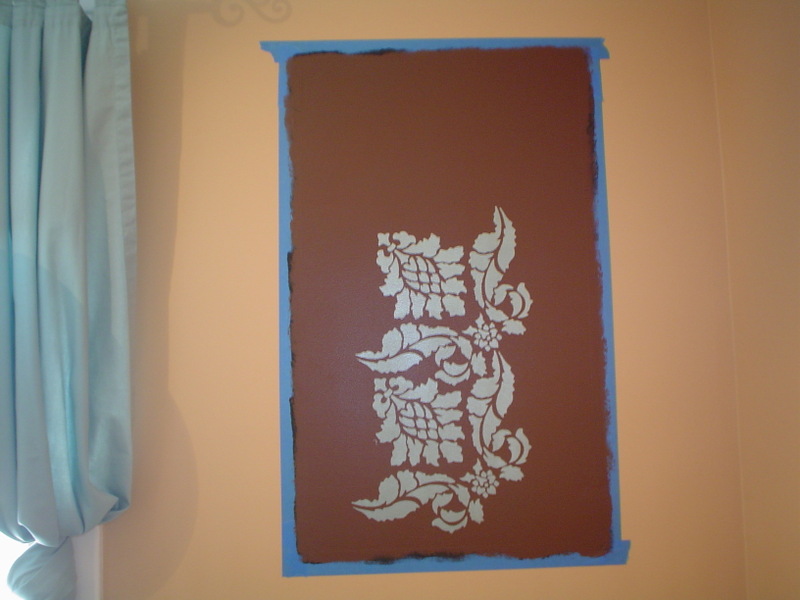 Step 5: Roller Stenciling. I wanted my pattern to be metallic, so I used Modern Masters paint, Teal #249. I wanted the paint to be uniform, not shaded, so I used a small foam roller instead of a stencil brush.
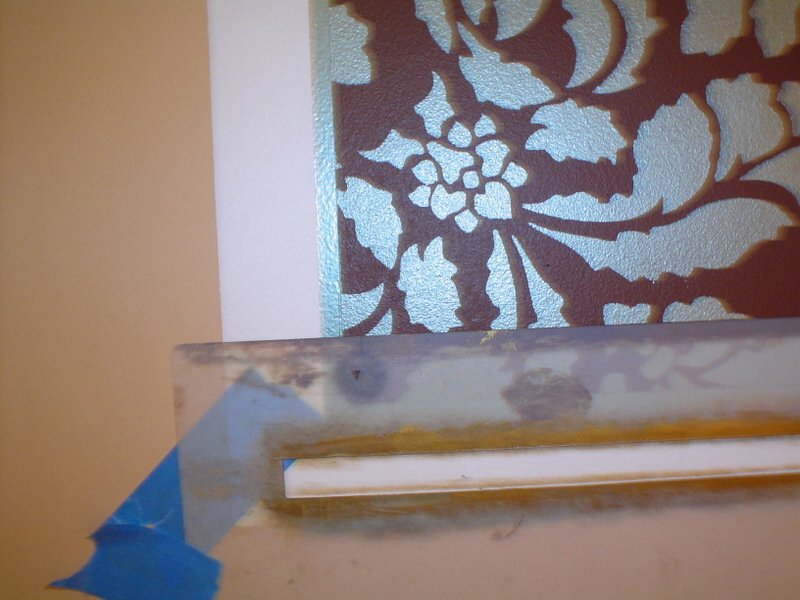
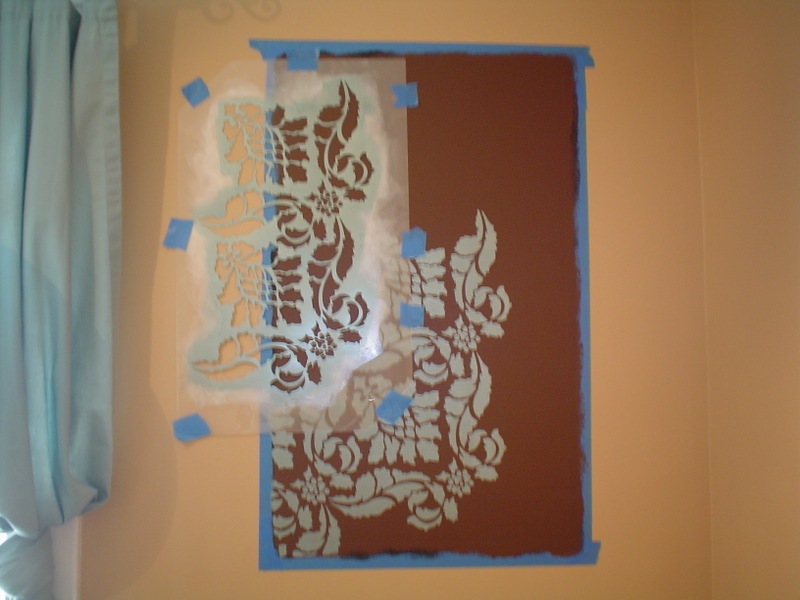 Step 6: Repositioning Stencil. This stencil has some cut out registration marks for easy alignment. The Modern Masters paint dries very quickly, so I was able to do one repeat after another without smearing the previous stenciled pattern. If you do have any run-unders or smears, you can clean them up with a damp q-tip.
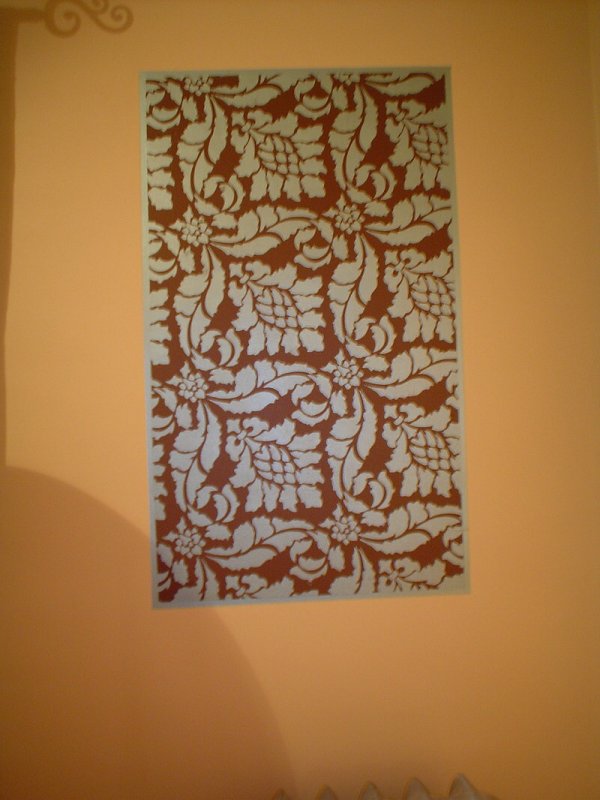
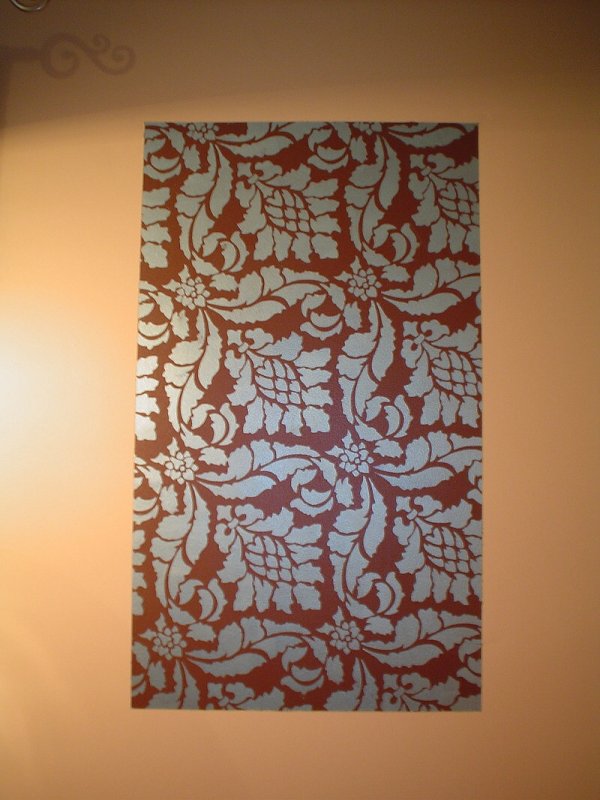 Step 7: Remove the tape. I always do this very slowly, just to be sure no paint is coming off with the tape!Let this dry completely before proceeding to the next step.
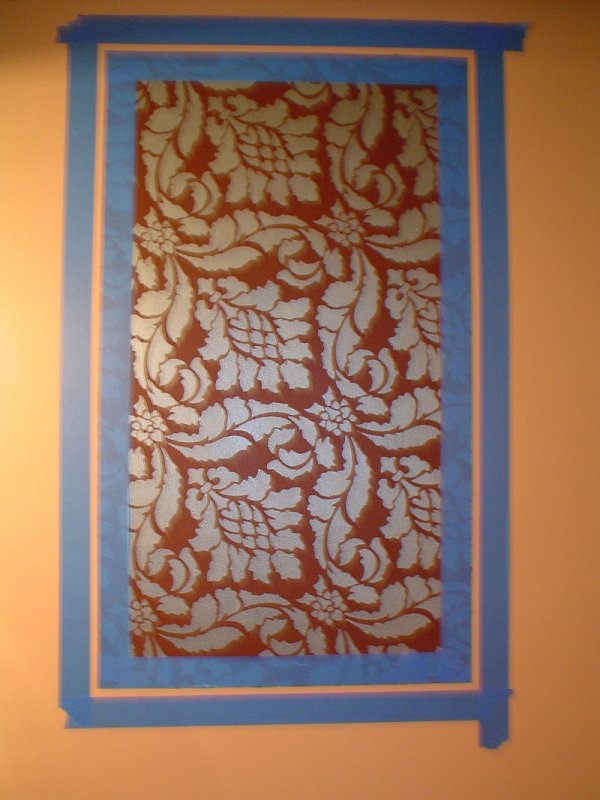 Step 8: Adding a border. Next, I taped out for a 3/8" border with the blue tape. You will be taping over your stenciling for the border, so be sure it is completely dry before you start this step.
 Step 9: Paint border and remove tape. I used a small artist brush to paint the border with the same Teal metallic paint.
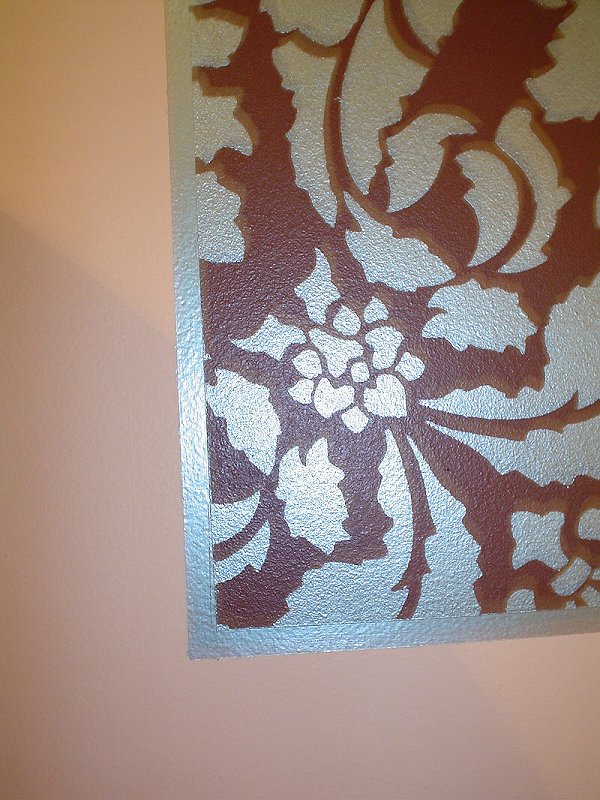
Here’s a close up of the border.
 Step 10: Next, I wanted a white frame, so I taped out for the width of the frame, 1 3/4".
 Step 11: I rolled on 2 coats of white craft paint for my frame base.
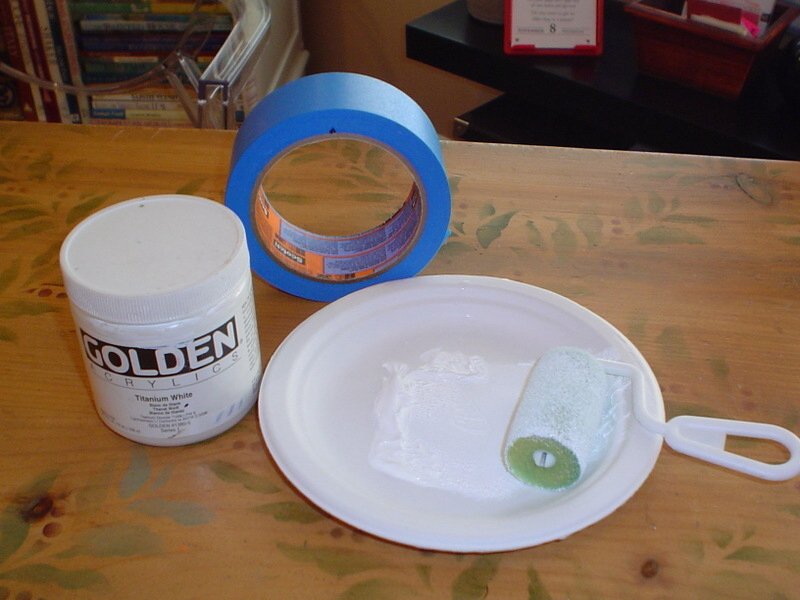 Ha! This is the point where I decided to photograph the supplies used for the steps!
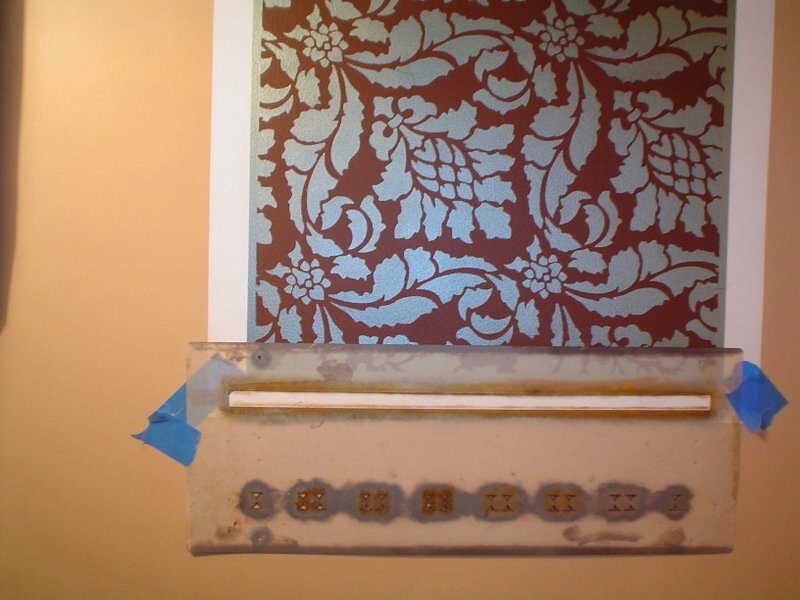 Step 12. Stenciling the frame detail. I used Royal Design’s Trompe L’oeil Beaded Molding #952 stencil for this step. This is a stencil I have used so many times for projects that I am amazed it is still holding up! Just follow the directions that come with this stencil for foolproof molding! Here you see the first overlay lined up.
 Step 13: Mitered Corners. To make the corners of my "frame" look mitered, I taped off each corner at a diagonal before I began the stenciling of the frame detail. Ok, so I am a little out of sequence here. ;-(
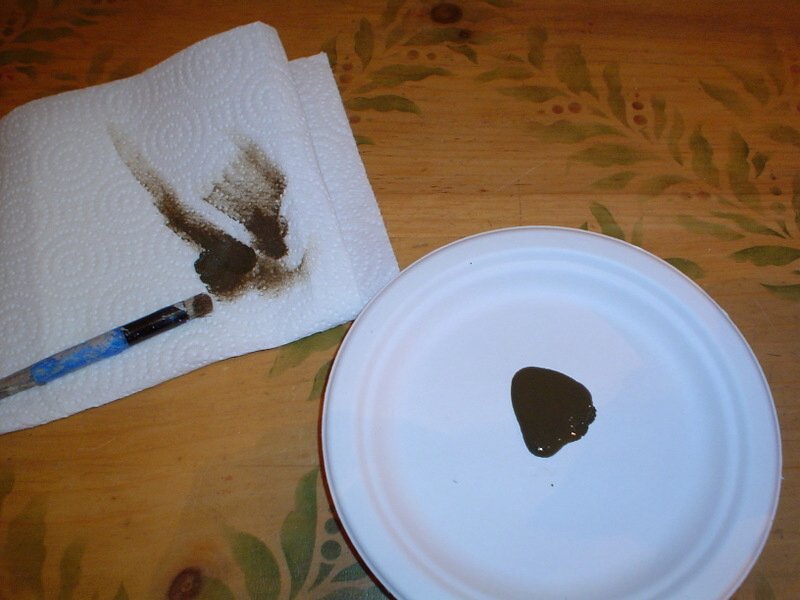 Here are my materials for the frame detail work. I used a brown craft paint.
 Here you see a close up of the brown paint stenciled to created the outline of the molding detail.
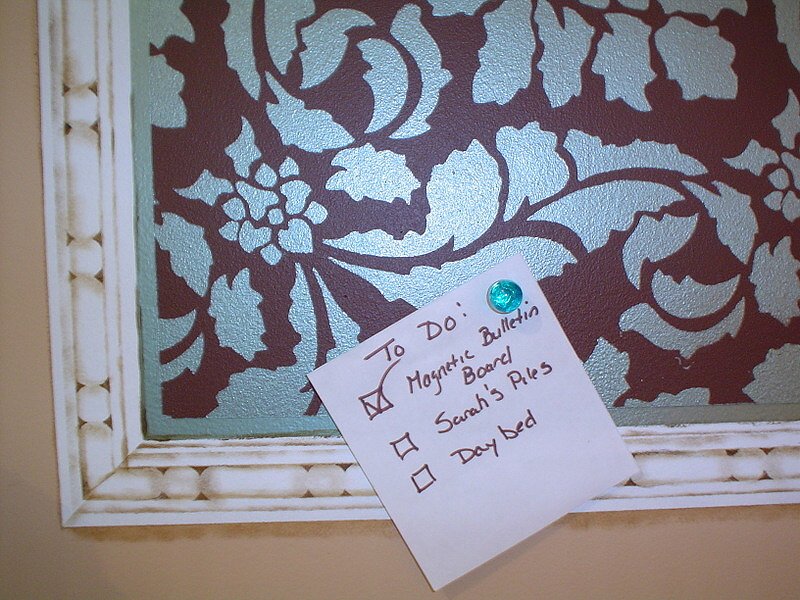 Here is a close up of the finished detail. It honestly looks much more complicated than it actually is!


Awesome idea! Thanks for the step-by-step instructions.
I DID THIS PROJECT TODAY AND IT TURNED OUT GREAT!
Kiki, email me a pic and I will post! My magnets do not stick very well on mine. Try super magnets if you have this problem too.