Good news, bad news today on the job site. The good news is I was able to cover over those tiles in the kitchen, using PermEnamels. The bad news… it took four coats to do so and because it was so humid today, it also took an hour to dry between coats. So, as I worked on the tiles, I also worked on the Problem Wall, still filling in the huge holes left by the coat hook I was finally able to remove. Again, the humidity slowed the drying time down, so I was not able to work on that wall because I had to fill in the holes a little more and they were not dry enough to continue. I moved onto the dining room. I had already primed the once red walls and put my base paint on last week. Today I was able to roll on the first layer of Sage Green Lusterstone on walls above the chair rail and also began troweling on the 2nd layer of 2 of the smaller walls. It looks ugly, really ugly at this stage of the game. I always tell the homeowner upfront that this is the "ugly stage" and most trust me enough to know it will all work out in the end. I can see these walls are going to need a good 4 coats to look presentable! The walls are not in great shape to begin with, a bit uneven in spots and just old. I am behind on this job now by about an half day. I had hoped to finish up tomorrow, but I can see myself still there on Wednesday. I hope I can transform those ugly green walls into something respectable tomorrow!

Here’s the first coat of Sage Green Lusterstone rolled onto the wall in the Dining Room. That is my sample board propped up, showing what the final finish should resemble.This first coat always looks horrid, in any color of the LS.

Oh, here is the Dining Room before I got my hands on it. Very deep red, above and below the chair rail. The chair rail is quite low in this room, not the typical height. The walls appear much smoother in this photo than they actually are!
Second coat of Lusterstone applied…with trowel. Still ugly, but this is typical of this process. I like instant gratification, so am always disappointed with this stage.

Can you see this horizontal crack? It’s to the left of the 2 switches. This is a problem with the wall, I believe! I hope the next layers will hide this flaw.

Olive vine above archway to back entry in Kitchen. I was unsure about how I liked this vine when I left on Friday, but really liked it when I returned today. Sometimes, actually most times, I just need to get away from my work for a day or two to appreciate it or to see how i can improve/adjust it!

Smaller olive grouping over Kitchen door to patio.
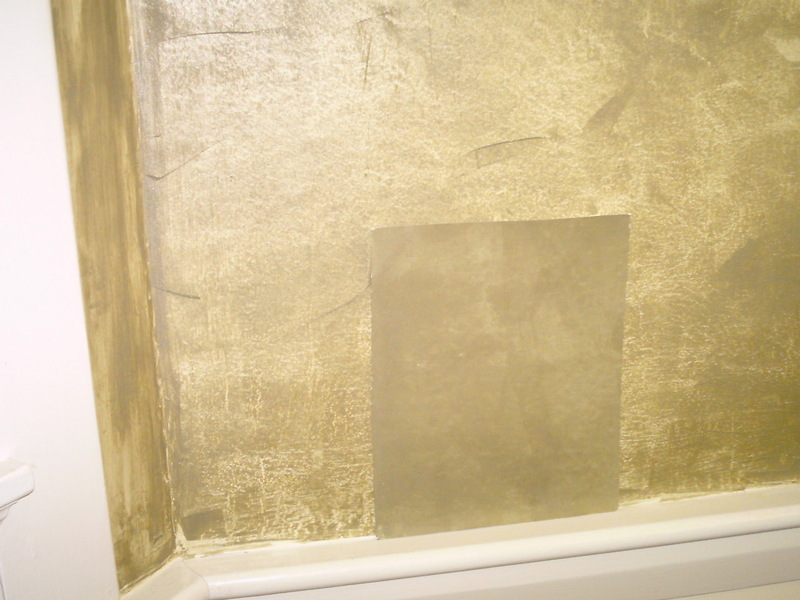
Here are those tiles now base coated with an off white. Remember them from the previous post? They were white with little blue flowering vines on them. I will be adding some olive vines to these and a few other touches… tomorrow.


