
I’ve had to add an extra layer to my chic overall uniform lately. The long underwear is out because we have been having quite a few days of single digit temperature. Since my overalls are quite thread bare, some pairs sporting rips at the knees… it is a bit chilly to venture outside in this bone chilling weather. Even though my work is indoors, it is very cold while loading and unloading supplies, and my car seems to take forever to really heat up during my commutes.

Continuing on with the panel progress, Susan is featured here, holding up one of the Modellos™ she has just taken out of the box. For those of you not familiar with Modellos, they are a one time use stencil application. A Modello™ is comprised of three layers: a backing, the design layer, and a thin protective cover sheet. The backing is peeled off first, and the design layer is then burnished onto the desired surface. When you are ready to work on the design, the top protective layer is peeled off. Complete instructions come with each Modello ordered and you can read more about these custom designs here.
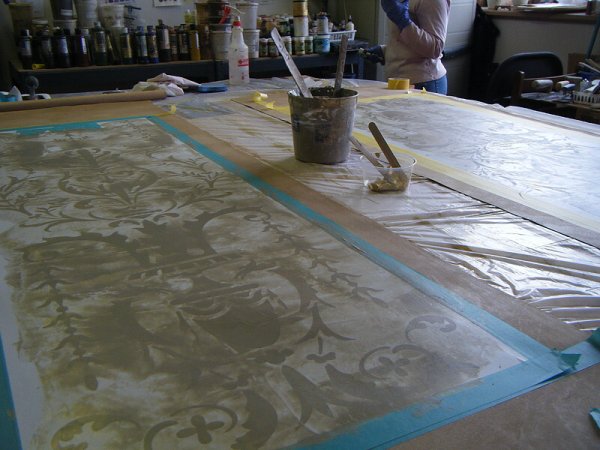
The Modellos have now been applied to our prepared canvases and two layers of a special mixed plaster have been troweled through the design. We want the design to appear a little raised, which is why we are using the 2 layers of plaster.

Now for the foil layer. After rolling on two layers of Wunda size, five different colors of foil are applied. We applied the colors in the same order for each of the six panels, but the application is random.

A closer look at the foil layer. In person, you can still see the design while doing this. From a distance and in this photo, the design starts to get lost within the layers.

For our final layer, we rubbed on Stain & Seal. This immediately gave a very rich patina to the overall design. Next… the unveiling!


