I am just finishing up my week in Stripe Purgatory, so will begin chronicling that experience with this post. I do always love the end result/look of a striped wall, but the process can be a bit stressful. Things to worry about, like will the tape pull of the base coat?; will there be any bleed unders when the tape is removed?; did I paint the correct stripe?; is it really level?… are all concerns that can be unpredictable. When the stripes are all taped out, it can drive your eyes crazy!
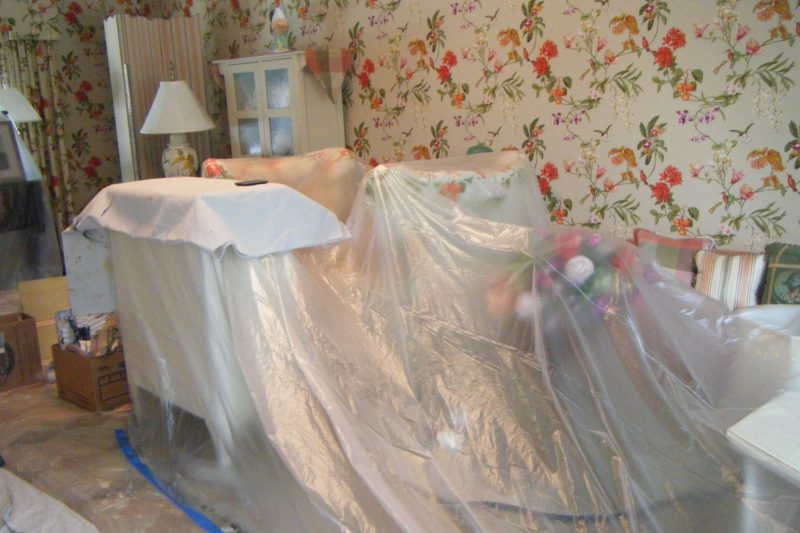
To start, my clients have THE best painter! Look how nicely he pushed all the furniture to one side of the room and completely wrapped and taped it all up! I am only doing one accent wall in this room, so none of this furniture will have to be moved around to access other walls.

Here is the wall I will be working on. The three other walls are padded fabric, exquisitely done! Warren, the painter, put plastic up on those adjacent walls and taped it all out for . My wall to stripe is about 30′ long.

This is the approved sample board. It’s a green metallic striae stripe that alternates with 1 1/2" stripes that have a light gold background with burnt orange and gold thin stripes.
 To start, I put on 2 thin layers of a soft, metallic gold. Btw… I took this this photo with my new iPhone. I am loving this phone, but must admit, as I knew would happen, I am spending way too much time playing with it! I let the layers dry overnight, so come back tomorrow to see what happens next.


